Finding a puddle of water inside your fridge is more than just an annoyance, it’s a clear sign that something isn’t right. The good news? It’s often a simple fix you can handle yourself. Most of the time, the culprit is a clogged or frozen defrost drain, which is like a tiny sink drain in your freezer getting blocked with ice or food bits. When that happens, the water from the automatic defrost cycle has nowhere to go and ends up spilling into your fridge.
This guide will walk you through diagnosing the most common causes of a fridge dripping water inside, from the simple to the slightly more complex, and show you how to fix them safely.
Getting to the Bottom of Your Leaky Fridge
When you see water dripping inside your fridge, it means its moisture management system is off-kilter. Every fridge runs a defrost cycle to melt away frost from the cooling coils. That melted water is supposed to flow down a small drain into an evaporation pan underneath, where it harmlessly disappears. A leak is simply that water ending up somewhere it shouldn’t be.
While a blocked defrost drain is the prime suspect, a few other issues can cause that unwelcome puddle.
Common Causes for an Internal Fridge Leak
Knowing the potential culprits helps you pinpoint the problem much faster. Here are the main reasons you might be finding water pooling at the bottom of your fridge:
- Blocked Defrost Drain: As we mentioned, this is the big one. Food particles, ice, or other gunk can create a blockage, causing water to back up and spill over.
- Faulty Door Seal: A worn-out, dirty, or damaged door gasket lets warm, humid air seep into the fridge. This creates extra condensation that can overwhelm the drain system.
- Leaking Water Supply Line: If your fridge has an ice maker or water dispenser, a loose connection or a damaged water line can cause slow drips inside the appliance itself.
- Cracked Drain Pan: The collection pan underneath your fridge could be cracked or misaligned. While this usually leads to puddles on the floor, it’s worth checking.
Quick Diagnosis of Common Fridge Leaks
Not sure where to start? This table can help you match what you’re seeing to the most likely cause. It’s a great way to quickly figure out if you’re looking at a quick DIY fix or if it’s time to call in the pros.
| Symptom | Likely Cause | DIY Fix Difficulty | Professional Help Needed? |
|---|---|---|---|
| Water pooling under crisper drawers | Blocked/Frozen Defrost Drain | Easy to Moderate | Usually not |
| Excessive frost and moisture on interior walls | Faulty Door Seal | Easy | Only if replacing is complex |
| Water dripping from the ice maker/dispenser area | Leaking Water Supply Line | Moderate | Yes, if you’re not comfortable |
| Water leaking onto the floor from under the fridge | Cracked/Misaligned Drain Pan | Easy to Moderate | Rarely |
After checking the table, you should have a better idea of what you’re up against. Remember, even a simple fix might require a bit of patience and the right tools.
Why You Should Fix It Promptly
It might be tempting to just wipe up a small leak and forget about it, but that water is a warning sign. Ignoring it can lead to much bigger headaches, like mould growth, damaged flooring, or even shorted-out electrical components. A persistent leak is a maintenance issue that won’t fix itself.
For a deeper dive into tackling household leaks, this a homeowner’s guide to repairing water leakage offers some great general advice. But when it comes to your appliances, a prompt repair is always the best move.
Gathering Your Tools and Preparing for the Fix
Before you dive in to figure out why your fridge is dripping, taking a few minutes to get organized can make all the difference. Think of it like a chef getting all their ingredients ready before cooking, a little prep work ensures the whole process is smooth, quick, and most importantly, safe. This pre-flight checklist will get you set up for a successful DIY repair.
The good news is that most common refrigerator leaks can be handled with simple household items. You likely won’t need anything fancy, which makes tackling this problem yourself that much more approachable.
Your Essential Toolkit
Having these items ready will save you from scrambling around mid-task. It’s always best to collect everything before you start.
- Towels: You’ll want plenty of old towels or rags to mop up any existing water and catch drips while you work.
- Flashlight: It gets dark behind and underneath your fridge. A good flashlight (or even the one on your phone) is essential for actually seeing what’s going on back there.
- Screwdriver: A basic multi-bit screwdriver will probably be needed to remove access panels, especially the one hiding the defrost drain inside your freezer.
- Turkey Baster or Small Funnel: This is the secret weapon for flushing a clogged defrost drain with warm water. It works perfectly.
- Pipe Cleaner or Flexible Tubing: For stubborn blockages in the drain line, a thin, flexible tool can help you gently poke them loose.
Safety First: Unplug the Appliance
This is the most important step of all, and you absolutely cannot skip it. Before you even think about touching any internal parts, you must disconnect your refrigerator from the power.
Safety Warning: Always unplug your refrigerator from the wall outlet before starting any inspection or repair. Water and electricity are a dangerous mix, and this one simple action completely removes the risk of electric shock.
Once it’s unplugged, you’ll probably need to carefully pull the appliance away from the wall to get to the back panels or the drain pan underneath. If it’s heavy, ask for a hand. A great tip is to slide a piece of cardboard or an old blanket under the front feet to keep from scratching your floor. This little precaution can save your kitchen flooring from some nasty gouges.
Preparing Your Workspace
With the power safely off and your tools at the ready, the last step is to clear your workspace. Move any food out of the freezer or off the bottom shelves of the fridge if they’re in your way. A cooler is perfect for keeping everything fresh while you work.
Lay your towels down inside the fridge and on the floor around it. This gets you ready for any water that might come out when you clear a clog. For anyone new to fixing things around the house, our collection of DIY appliance fix guides offers more general tips that can help. Being prepared not only makes the job easier but also gives you the confidence to get the fix done right—and safely—the first time.
How to Unclog Your Defrost Drain Step by Step
When you open your fridge and find a puddle of water, the defrost drain is almost always the prime suspect. Think of it as a tiny, essential pipeline. During the automatic defrost cycle, it’s supposed to guide melted frost from the freezer down to an evaporation pan, where it harmlessly disappears.
But when that drain gets clogged with ice, food crumbs, or other gunk, the water has nowhere to go. It backs up and spills right back into your fridge, typically pooling under the crisper drawers.
The good news? Tackling this yourself is completely doable with a bit of patience. This guide will walk you through it, turning a seemingly technical repair into a simple weekend task. We’ll focus on doing it safely and gently to avoid any damage.
This handy diagram lays out the three simple but critical prep steps you need to take before you start.
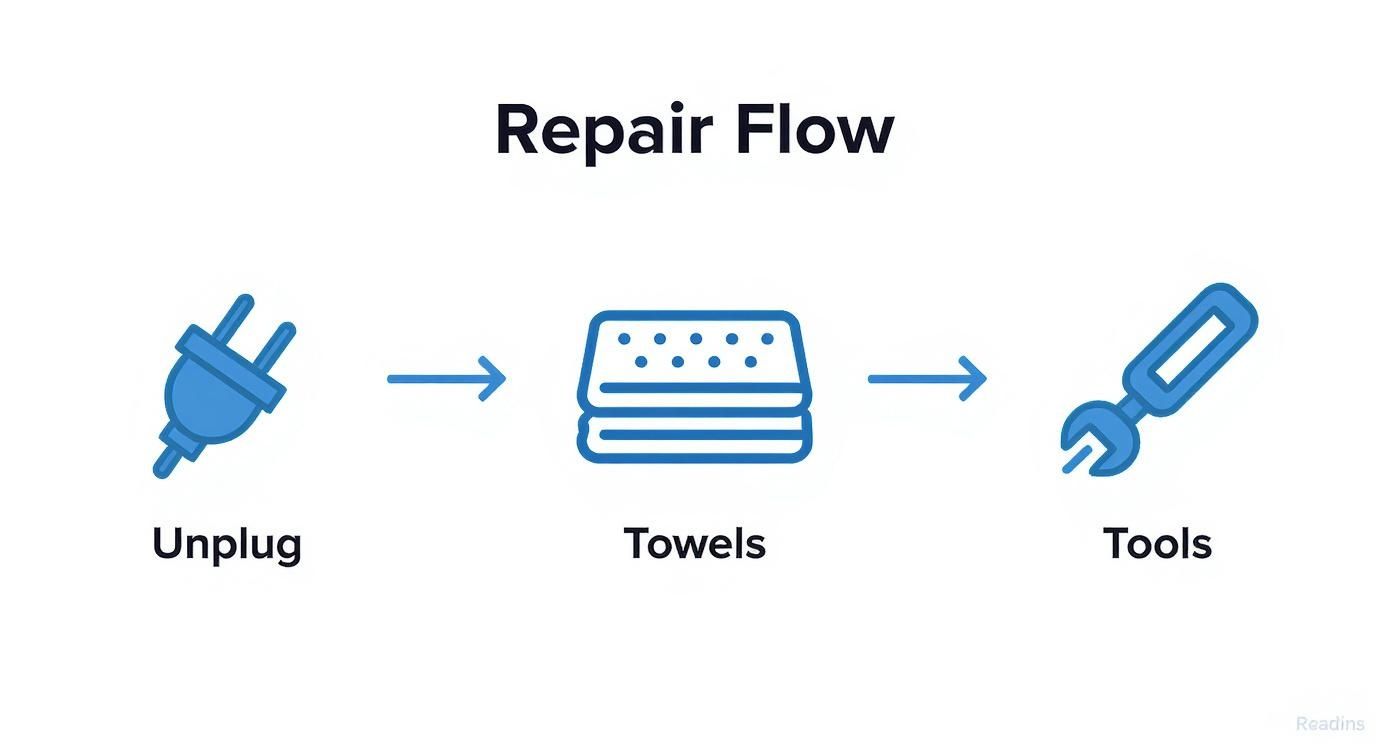
Following this flow—unplug, grab towels, and gather tools, sets you up for a safe and smooth repair right from the get-go.
Step 1: Locate the Defrost Drain Hole
First things first, you need to find the drain hole. On most top-freezer models, it’s usually sitting at the back of the freezer compartment, right along the bottom edge of the back panel. If you have a side-by-side or bottom-freezer fridge, it might be hiding behind a plastic panel.
You may have to remove the freezer’s back panel to get a good look. It’s typically held on by just a few screws or clips. Once it’s off, you’ll see the evaporator coils (they look like a bunch of fins) and, just below them, a small trough leading to the drain hole.
Step 2: Clear Any Surface Ice or Debris
Before you can flush the drain, you’ve got to clear the entrance. It’s pretty common to find a solid chunk of ice or even some frozen bits of food completely covering the hole.
A crucial safety tip: Whatever you do, don’t use a screwdriver, knife, or anything sharp to chip away at the ice. You could easily puncture the evaporator coils or crack the plastic liner, turning a small problem into a much more expensive one.
Instead, gently pour a little warm (not boiling!) water into the trough to melt the surface ice. Keep your towels handy to soak up the water as it melts. A hairdryer on a low setting can also help, but be sure to keep it moving to avoid warping the plastic. For a closer look at what parts commonly break in your refrigerator, check out our other guides.
Step 3: Flush the Drain Line
With the drain hole clear, it’s time to tackle the clog itself. The blockage is usually an ice plug stuck further down inside the drain tube.
- Mix a flushing solution: A cup of warm water is usually all you need. You can add a little baking soda or vinegar to help dissolve any grime, but plain water often does the trick.
- Grab a turkey baster or funnel: This is the perfect tool for the job. Fill the turkey baster with your warm water and place the tip right over the drain hole.
- Force the water through: Squeeze the baster firmly. The pressure will force the warm water down the drain, melting the blockage. You might need to repeat this a few times.
You’ll know you’ve won when you hear the water finally flowing freely down the tube. You can also listen for the sound of it trickling into the drain pan under the fridge.
Step 4: Verify the Drain Is Clear
To be 100% sure the clog is gone, pour one more cup of water down the drain. Then, check the drain pan at the bottom back of your fridge. If you see the water you just poured, you’re all done!
Once the drain is clear, it’s a smart move to check if your fridge is level. If it tilts forward, water won’t flow into the drain properly, which could just cause another blockage down the road. Use a level on top of the fridge and adjust the front feet if needed.
Finally, put back any panels you removed, plug the refrigerator back in, and load your food back into the freezer. By following these steps, you’ve likely fixed the number one cause of a fridge water dripping inside and saved yourself a service call.
Solving Other Common Causes of Refrigerator Leaks
So, you’ve cleared out the defrost drain, but there’s still a puddle forming inside your fridge. Don’t get discouraged. While the defrost drain is the usual suspect, it’s not the only thing that can cause a fridge water dripping inside. Let’s walk through the next few possibilities to pinpoint the real source of the leak.
These next checks involve parts that either manage the environment inside your fridge or handle its water connection. By systematically ruling each one out, we’ll get you that much closer to a dry and fully-functioning fridge.
Inspect the Refrigerator Door Seal
Think of your fridge’s door seal, also called a gasket, as the bouncer at a club. Its job is to keep the cold air in and the warm, humid air out. If that seal is dirty, cracked, or just plain worn out, it can’t do its job properly.
When warm air sneaks into the fridge, it creates extra condensation. This moisture can easily overwhelm the defrost system, leaving you with the very puddle you’re trying to fix.
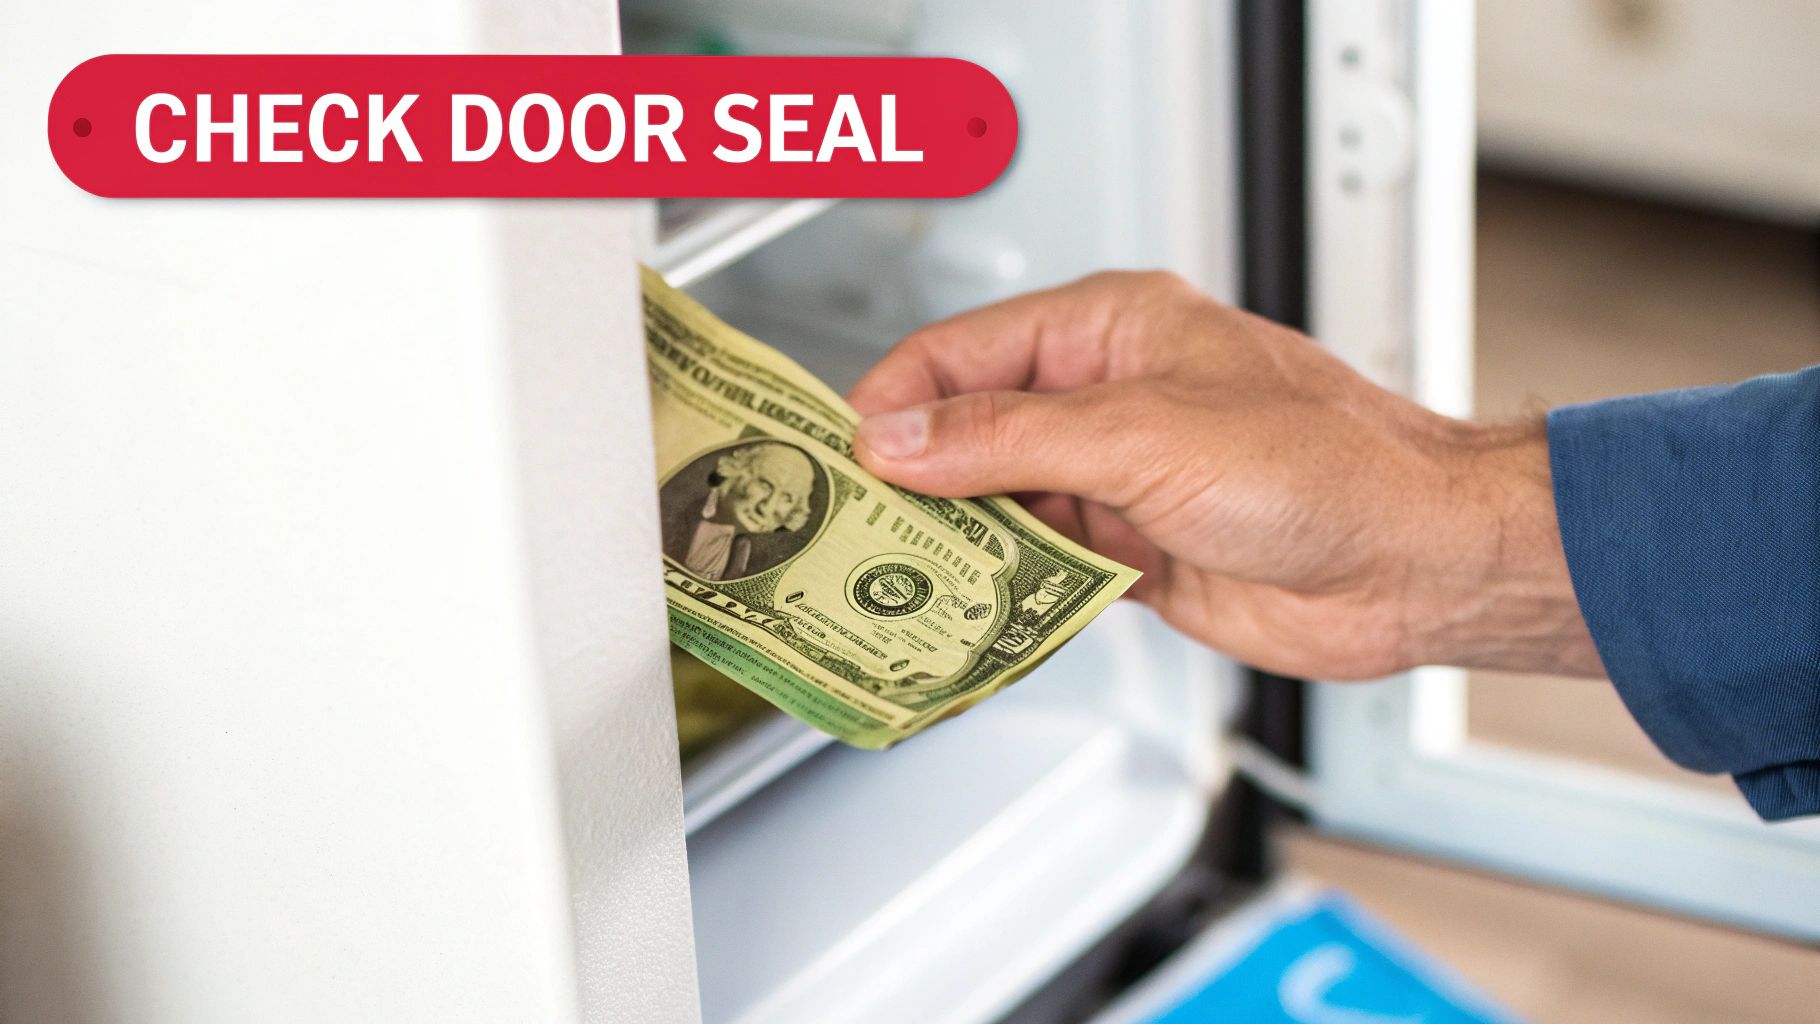
There’s a surprisingly simple way to check your seal: the “dollar bill test.”
- Open the fridge door and slide a dollar bill (or any piece of paper) partway over the gasket.
- Close the door right on the bill.
- Now, gently try to pull the bill out.
If you feel some resistance, the seal is doing its job in that spot. But if the bill slips out with no effort, you’ve found a gap where air is leaking in. Make sure to repeat this test all the way around the door.
A bad seal doesn’t just cause leaks. It forces your fridge to work overtime to stay cool, which means higher energy bills. Sometimes, a good cleaning with warm, soapy water is all it takes to get that seal working like new again.
Check the Water Supply Line
If your refrigerator has an ice maker or a water dispenser, it’s connected to a water supply line. This small plastic tube runs from your home’s water valve to the back of the appliance.
Over the years, this line can get brittle and crack, or the connections can loosen up. Even a tiny pinhole leak or a slightly loose fitting can create a slow, steady drip that pools behind or inside the fridge.
To check it, you’ll need to carefully pull your refrigerator away from the wall. Grab a flashlight and inspect the entire length of the tube, especially where it connects to the water valve and the fridge itself. If you see any drips, moisture, or mineral deposits, you might just need to tighten a connection or replace the line.
Hard water can also be a culprit, leading to mineral buildup. If you suspect clogs are related to water quality, it might be worth looking into understanding and fixing calcium buildup in your water.
Examine the Drain Pan
Tucked away underneath your refrigerator, usually near the compressor, is a shallow drain pan. Its job is simple: catch the water that comes down from the defrost drain. The heat from the compressor then helps this water evaporate.
While a problem here usually causes a puddle on the floor, a cracked or overflowing pan can contribute to moisture issues. Slide the pan out and look for any cracks or damage. If it’s full of water, it could mean the fridge is creating too much condensation or the water isn’t evaporating as it should. This could be tied to other problems, like a compressor that’s running too hot. You can learn more in our guide on what to do when your fridge compressor is hot.
In many parts of Canada, water conservation is a major concern. A single leaky fridge might not seem like a big deal, but it can waste up to 1,800 gallons per year. Fixing these small drips is an important step in reducing household water waste.
Simple Maintenance to Prevent Future Leaks
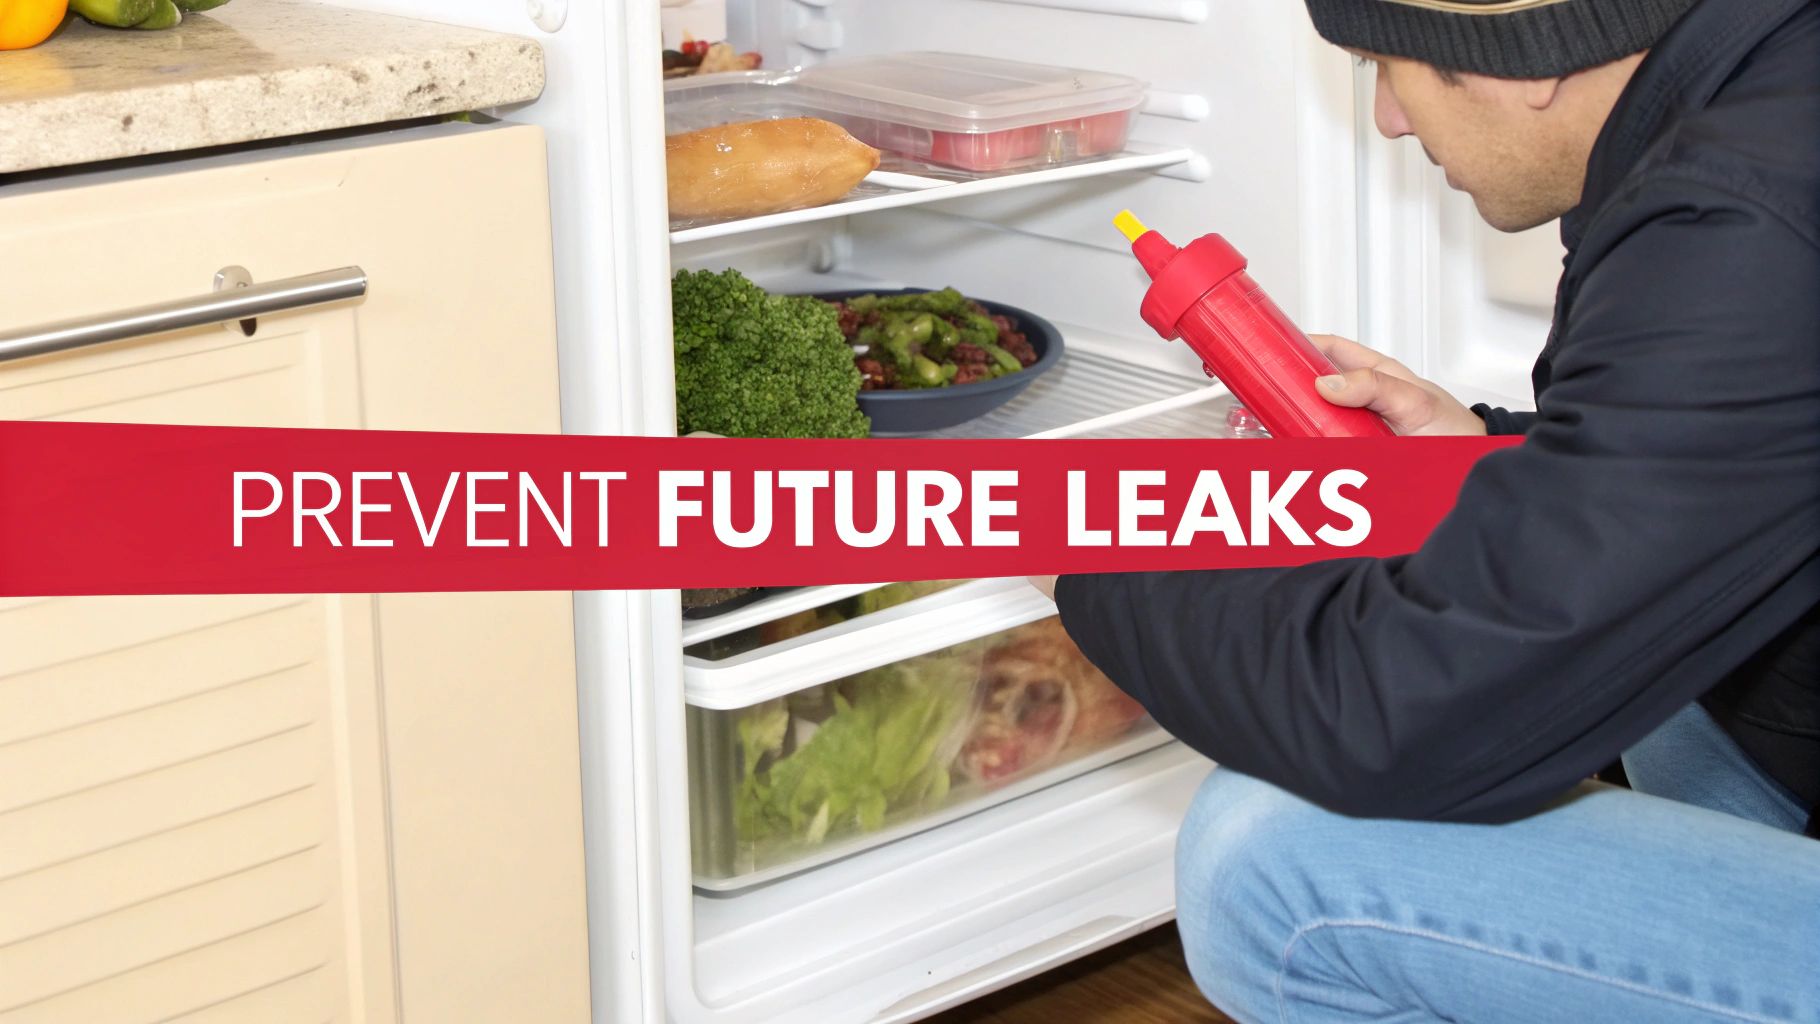
Alright, you’ve stopped the immediate problem of a fridge water dripping inside—great job. Now, a little proactive care can save you from dealing with this headache all over again. Consistent maintenance is your best bet for preventing clogs, leaks, and other common issues before they even have a chance to start.
Think of it as a small investment of time that pays off big by keeping your appliance running smoothly for years. These simple habits don’t require any special tools or technical skills, but they make a world of difference. By adding them to your regular cleaning routine, you can keep your fridge’s drainage and cooling systems in top shape.
Your Quarterly Fridge Maintenance Checklist
You really only need to set aside about 15 minutes every three to four months to prevent the vast majority of leak-related problems. It’s that simple. Here’s a straightforward checklist to get you started:
- Wipe Down Door Gaskets: Grab a cloth with warm, soapy water and give the door seals a good clean. Sticky food residue is the enemy here; it stops the gasket from creating an airtight seal, which leads to condensation buildup.
- Inspect and Clear the Defrost Drain: Shine a flashlight into the back of your freezer. You’re looking for the defrost drain hole. Make sure it’s clear of any food crumbs or debris that could cause a future clog.
- Check That the Fridge Is Level: Use a level to ensure your refrigerator is either perfectly flat or tilted just slightly backward. This simple angle helps gravity do its job, guiding water down the defrost drain instead of letting it pool where it shouldn’t.
- Clean the Drain Pan: Carefully slide out and wash the drain pan from underneath your fridge. It’s amazing how much dust and grime can build up, leading to weird odors and slowing down evaporation.
This quick routine is truly your best defense against finding unexpected puddles on your kitchen floor.
Why Consistent Care Matters
Every single time you open your refrigerator door, you’re letting in warm, humid air. Your fridge then has to work to cool that air down, which creates condensation. This is a totally normal process, but a well-maintained fridge handles this moisture without you even noticing.
Proactive maintenance isn’t just about stopping leaks. A clean appliance with a tight door seal runs more efficiently, which can actually help lower your energy bills. It also prevents mould and mildew from building up, creating a healthier kitchen.
When you forget these small tasks, tiny problems start to snowball. A little bit of debris in the drain becomes a full-blown clog. A dirty gasket eventually fails to seal properly. Sticking with this simple checklist is the most effective way to avoid another frustrating discovery of water inside your fridge. It transforms you from someone who just fixed a problem to a homeowner who’s in complete control of their appliances.
When You Should Call an Appliance Repair Professional
Knowing your limits is a key part of any successful DIY project. While many causes of a fridge water dripping inside are simple enough to handle on your own, there are definite red flags that mean it’s time to put down the tools and call in an expert.
Think of it this way: trying to fix a complex electrical or sealed-system issue without proper training can quickly turn a small problem into a much bigger, more expensive one. A professional technician has the right diagnostic tools and years of experience to pinpoint the exact cause safely and efficiently, saving you time, money, and a whole lot of stress.
Signs You Need a Technician
If you’ve gone through the common fixes and the puddle in your fridge just keeps coming back, that’s a clear sign the problem is deeper than a simple clog or a worn-out seal. Pushing further on your own could do more harm than good.
It’s time to call for help when you see these warning signs:
- The Leak Won’t Stop: You’ve meticulously cleared the defrost drain, checked the drip pan, and confirmed the door seals are snug, but the puddle returns. This points to a more stubborn, less obvious issue that a pro can diagnose.
- Electrical Issues: This one is non-negotiable. If you see sparks when plugging in the fridge, notice the control panel lights flickering, or the appliance keeps tripping your circuit breaker, stop immediately. These are serious electrical hazards that require a professional.
- Strange Noises or Smells: A persistent chemical smell or an oily film mixed with the leaking water is a major red flag. This often signals a refrigerant leak, which is not a DIY job and requires a certified technician to handle safely.
- The Compressor is Overheating: If the compressor—the large, black tank-like component at the back—is excessively hot to the touch, it could mean there’s a problem with the sealed cooling system. This is complex territory best left to an expert.
A lingering water leak is more than just an annoyance; it can lead to serious and expensive damage to your floors, cabinets, and even subfloor. In fact, water damage is one of the leading causes of home insurance claims, with the average payout often topping $15,000. It’s a sobering reminder of how a small appliance issue can escalate.
When Safety Comes First
Certain repairs, especially anything involving the sealed refrigerant system or the fridge’s main electrical components, should only be handled by a licensed professional. Mishandling refrigerant isn’t just dangerous, it’s also illegal if you don’t have the proper certification.
If you’re facing a stubborn leak or any of the serious issues listed above, it’s the right time to seek professional refrigerator repair. An expert will get the job done correctly and safely, giving you the peace of mind that your appliance is in good hands.
Frequently Asked Questions About Fridge Leaks
To wrap things up, we’ve pulled together some of the most common questions we hear from homeowners dealing with a fridge water dripping inside. This should give you some quick, clear answers and help you feel more confident about keeping your appliance in top shape.
How Do I Stop My Fridge From Leaking Water Inside?
Nine times out of ten, water leaking inside a fridge comes down to a clogged defrost drain. The first thing to try is unplugging your refrigerator and clearing any ice or gunk you can see from the drain hole, which is usually at the back of the freezer. A turkey baster is a great tool for flushing the drain with warm water to melt away any hidden ice blockages.
Another big culprit is a bad door seal. If it’s not tight, it lets warm, humid air sneak in, creating extra condensation that the drain system just can’t handle.
- Step 1: Carefully clear and flush out the defrost drain.
- Step 2: Give the door gaskets a good wipe-down with warm, soapy water to help them seal better.
- Step 3: If the seals are cracked, torn, or just not sealing anymore, they’ll need to be replaced.
Following these steps will fix the vast majority of internal fridge leaks without you ever needing to pick up the phone.
Why Is There Standing Water Under My Crisper Drawers?
Ah, the classic puddle under the crisper drawers. This is the number one symptom of a blocked defrost drain. During the automatic defrost cycle, melted ice is supposed to travel down this drain and into an evaporation pan. When that drain gets clogged, the water has nowhere to go. It backs up and overflows, eventually settling at the lowest point inside your fridge—which is right under those drawers.
Clearing the blockage using the steps we mentioned above is almost always the solution here.
How Much Does It Cost to Fix a Leaking Refrigerator?
The cost can swing quite a bit depending on what’s wrong. A simple DIY fix, like clearing a clogged defrost drain, might only cost you a bit of your time. If a part needs replacing and you’re comfortable doing it yourself, the costs are usually pretty reasonable:
- New Door Gasket: $50 – $150
- Replacement Water Line: $20 – $40
- New Drain Pan: $30 – $60
But if the problem calls for a professional technician, maybe to replace a faulty water inlet valve or deal with a more complex sealed system issue—you’ll be looking at parts and labor costs. Most professional service calls for common leaks land in the $150 to $350 range.
Is It Safe to Use a Refrigerator That Is Leaking Water?
While a small internal leak isn’t an immediate emergency, you definitely shouldn’t ignore it. That constant moisture can lead to mold and mildew growth inside your fridge, which is a health concern you don’t want. Worse, if water seeps into any electrical components, it could create a serious safety hazard.
It’s always best to track down the source of the leak as soon as you spot it. Unplug the fridge and get the issue fixed to prevent damage to your floors, protect your home, and keep your appliance running safely.
If you’re ever not sure what’s causing the leak or don’t feel comfortable tackling the repair yourself, calling a professional is the smartest and safest move. They have the right tools and expertise to diagnose the problem correctly and make sure the fix is done right the first time.
Need appliance repair? Visit RepairMyAppliance.ca or call 587-416-5888 for fast, professional service.