Fixing a chip in your appliance's enamel finish is one of those surprisingly simple DIY projects that makes a huge difference. With the right appliance enamel repair kit, you can clean up the damaged spot, fill it in, and smooth it out for a nearly invisible finish. More importantly, you're not just fixing an eyesore—you're stopping rust before it even has a chance to start.
Your Guide to Fixing That Annoying Appliance Chip
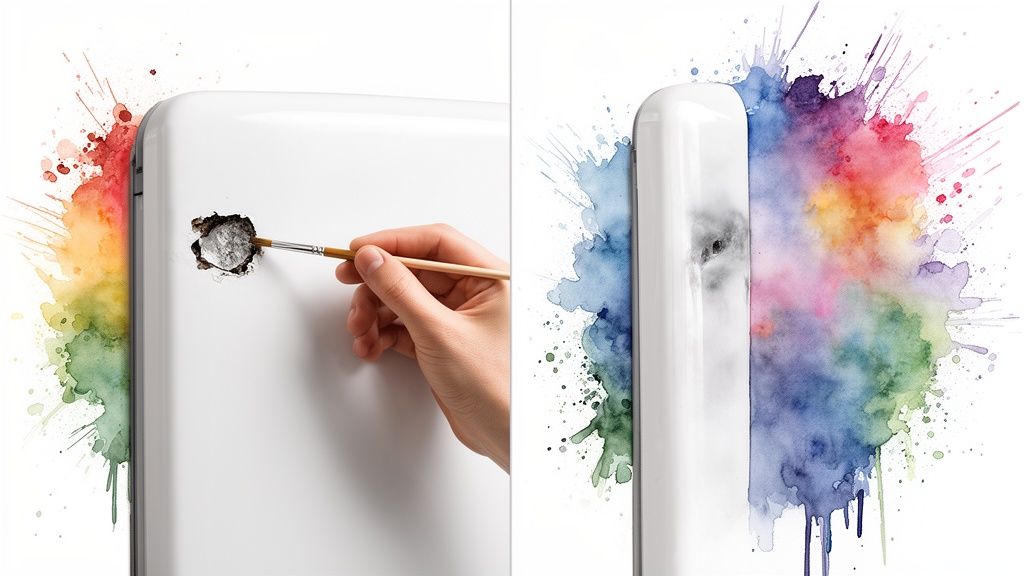
It’s always frustrating to spot a chip on a pristine white stove or a sleek refrigerator. It just draws the eye. But beyond the cosmetic issue, that little ding exposes the raw metal underneath to air and moisture, which is a recipe for rust.
This guide walks you through a practical, no-fuss approach to fixing it yourself. We'll show you how to use a standard appliance enamel repair kit to prep the surface and get a finish so smooth it blends right in.
Common Appliances You Can Repair
This DIY fix isn't just for one type of machine; it's incredibly versatile. Enamel is a tough, popular finish, but chips are a common problem on plenty of household workhorses. You can use this method on:
- Stoves and Ovens: Perfect for those inevitable dings on the cooktop or oven door from dropped pots and pans.
- Refrigerators: Easily addresses chips on doors and sides caused by the daily chaos of a busy kitchen.
- Dishwashers: Restores the uniform look of the front panel, hiding any scuffs or chips.
- Washing Machines and Dryers: Great for repairing scratches and dings on the top or front from laundry baskets and stray items.
This is a project well within reach for most homeowners. Our goal is to give you the confidence to tackle that blemish and restore your appliance's flawless surface. While white is a common finish, it's always good to know your options. If you're curious about different appliance styles, our guide on stainless steel appliances vs dark colored appliances offers some great insights.
Key Takeaway: A small chip is more than a cosmetic flaw. It breaks the protective seal of the appliance's finish, leaving the underlying metal vulnerable to moisture and, eventually, rust. A timely repair prevents this corrosion from starting.
Choosing the Right Tools for a Lasting Repair
The real secret to making a chipped enamel repair look like it never happened? It all comes down to the quality of your materials. A good repair starts with a good toolkit, and at the heart of it all is a dedicated appliance enamel repair kit.
I've seen it time and again: someone tries to use regular paint or a generic filler, and the fix just doesn't last. It peels, it discolours, and you're right back where you started. These specialized kits are designed to handle the unique stresses on appliances, like sudden temperature changes and constant cleaning. Getting the right one from the start is half the battle.
Decoding the Appliance Enamel Repair Kit
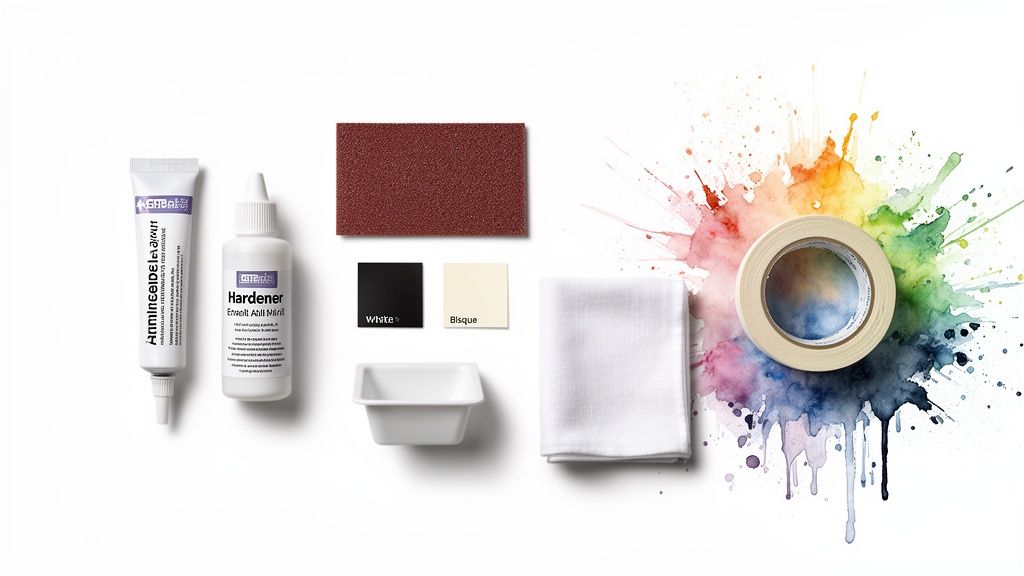
Most kits you'll find are a two-part epoxy system. This is what you want—it creates a much harder, more durable surface than any single-part touch-up paint ever could. When you open the box, you’re usually looking at three key players.
- Filler or Putty: This is the stuff that fills the actual chip and gets it level with the rest of the surface. It’s got a thick consistency, so you can build it up in nice, thin layers.
- Hardener or Activator: This liquid is the magic ingredient. You mix it with the filler, and it kicks off a chemical reaction that cures the putty into a rock-solid, permanent patch.
- Finishing Paint: This is your topcoat. It provides both the colour and that glossy finish that’s meant to blend in with the original enamel.
From experience, here's a crucial tip: always test the paint on a hidden spot first. Appliance "white" comes in about a million different shades. A quick dab on the back or underside of the appliance will tell you if you have a perfect colour match, preventing a repair that stands out even more than the original chip.
Essential Tools Beyond the Kit
The kit has the main ingredients, but a few other items are non-negotiable if you want a truly seamless finish. Think of these as the supporting cast—they handle all the important prep work and precision.
- Fine-Grit Sandpaper (220-grit or higher): You'll need this to smooth the rough edges of the chip and lightly scuff the surface. This gives the new enamel something to really grab onto.
- Painter’s Tape: Use this to mask off the area right around the chip. It's your best defence against accidental smudges and drips on the undamaged enamel.
- Rubbing Alcohol or Degreaser: A quick wipe-down with this removes any grease or grime that could stop the filler from getting a strong bond.
- Clean, Lint-Free Cloths: You’ll need a couple of these—one for the initial cleaning and another for wiping away any excess material as you work.
Now, if you're working on an appliance that gets hot, like a stove or oven, heat resistance is a critical factor. Always double-check that your kit is rated for high temperatures. This is especially important for chips on a cooktop, where the surface really takes a beating from the heat. To learn more about these specialized surfaces, have a look at our insights on cooktop glass replacement in Edmonton. Getting all these items together before you start makes the whole process go a lot smoother.
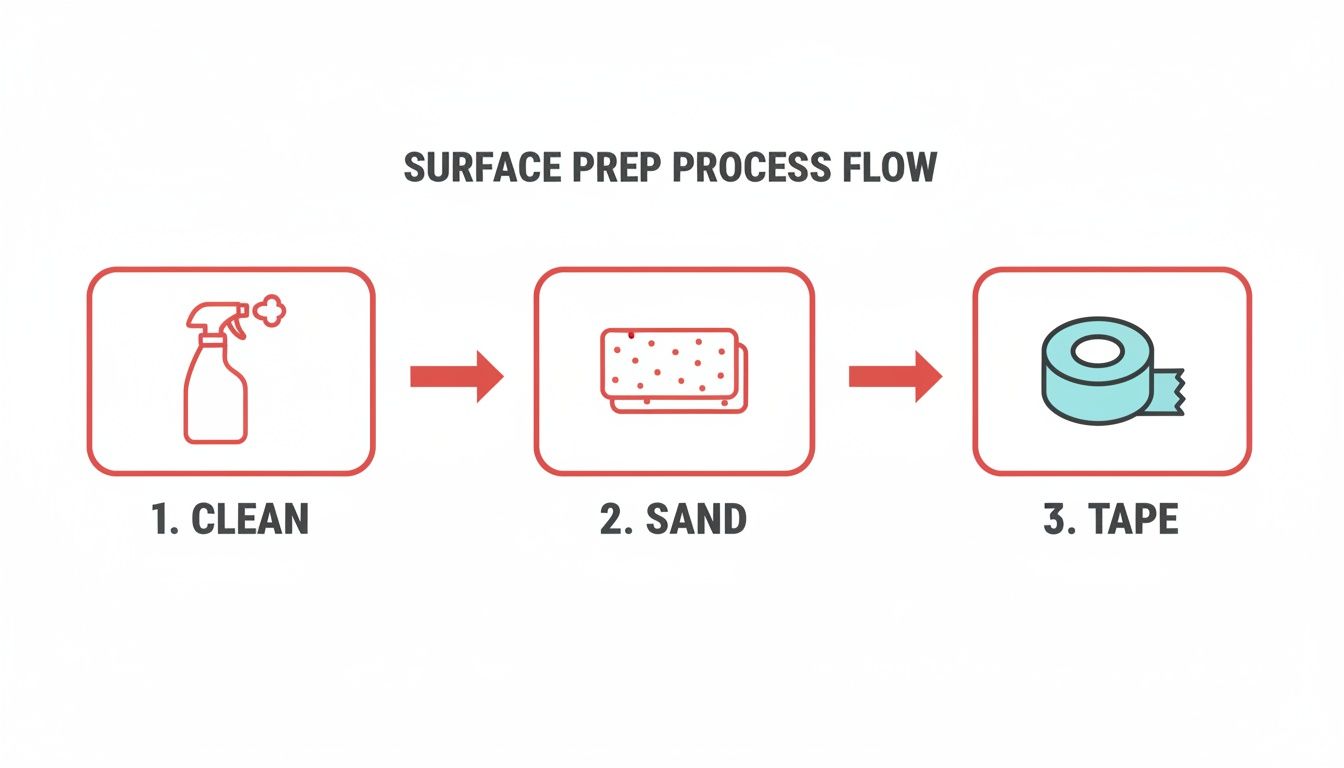
Preparing the Surface for a Flawless Finish
I can't stress this enough: a successful enamel repair is 90% preparation. That isn't an exaggeration. If you rush this part, the patch will almost certainly fail, peeling or flaking off within just a few months.
Think of it like painting a wall—you wouldn't just slap a new coat over dirt and hope it sticks. The same principle applies here, and getting this foundation right is what separates a quick fix from a lasting, invisible repair. It all starts with creating a perfectly clean and receptive surface for the new enamel to bond to.
Deep Cleaning the Damaged Area
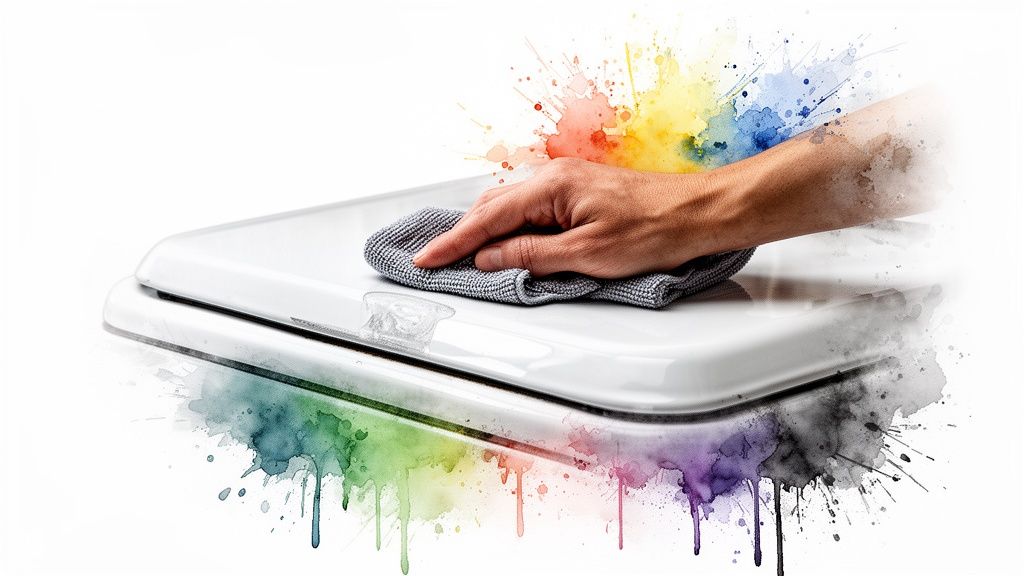
First things first, you have to get rid of any and all contaminants that could get in the way of a strong bond. Kitchen appliances are notorious for accumulating a thin, almost invisible layer of grease and grime. This residue is the number one enemy of adhesion.
Grab a cloth, dampen it with a strong degreaser or some rubbing alcohol, and get to work. Thoroughly wipe down the chipped area and the space immediately around it. Don't be gentle; you really want to scrub away any hidden oils or leftover cleaning product.
For particularly stubborn gunk, especially on a stovetop, you might need something more heavy-duty. Our guide on how to clean an oven with oven cleaner has some great techniques for breaking down baked-on grease that can be useful here, too. Just make sure the surface is bone dry before you move on.
Sanding for Superior Adhesion
Next up, you need to create some texture for the new enamel to grip onto. This is sometimes called creating a "mechanical key." Take a small piece of fine-grit sandpaper—something around 220-grit is perfect—and gently sand inside the chip and right around its edges.
You're not trying to remove a lot of material here. The goal is twofold:
- Smooth the sharp edges of the chip so your final repair will blend in seamlessly.
- Slightly roughen the surface to give the filler something to physically lock onto.
After you're done sanding, wipe away every last speck of dust with a clean, dry cloth. Any dust left behind will act as a barrier and weaken the repair bond. It's a concept that’s pretty similar to auto body work. If you're curious about how pros handle damaged protective coatings, learning about how to fix clear coat peeling on cars offers some great insights into the importance of surface prep.
Masking for Clean Edges
Finally, you need to protect the area surrounding the repair. Use a high-quality painter's tape to frame the chip, creating a clean, sharp border. This simple step prevents any filler or paint from smudging onto the original finish, which can be a real pain to remove once it has cured.
Pro Tip from Experience: Place the tape about a millimetre or two away from the edge of the chip. This gives you a tiny bit of room to feather the repair material, helping it blend more naturally into the surrounding surface.
With the area now perfectly clean, sanded, and masked, you've created the ideal canvas. You're ready to move on to applying the filler, confident that your careful prep work has set you up for a flawless and durable finish.
Applying Enamel Like a Pro
With all the prep work done, it's time for the satisfying part: making that chip disappear. This is where the real magic happens, but it’s a game of patience, not speed. Getting this right turns an ugly chip into a nearly invisible repair.
One of the most common mistakes I see is people trying to fix a chip by globbing on one thick coat of filler. It seems faster, but it almost always creates a lumpy mess that’s a nightmare to sand down smoothly. The secret is to build up the repair with several thin, even layers. It gives you way more control and a much stronger, more seamless finish that actually blends in.
Mixing and Applying the First Layer
Your enamel repair kit probably came with a two-part epoxy—a filler and a hardener. Follow the manufacturer's mixing instructions to the letter. If you eyeball the ratio, the filler might never cure properly, leaving you with a soft, gummy patch. No good.
Mix just a tiny, pea-sized amount on a scrap piece of cardboard. You only need enough for a single thin layer, and this stuff starts to harden pretty quickly. Using a small applicator tool or even the clean edge of a razor blade, press a thin layer of the mixture into the chip.
The goal here isn't to fill the whole thing at once. Just focus on covering the bottom of the damaged spot, making sure you press it firmly into the sanded surface to create a solid bond.
The prep work you did before this is what sets you up for a great result.
As you can see, proper cleaning, sanding, and taping are the non-negotiable first moves for a repair that’s going to last.
Building Up and Feathering the Edges
Now, you wait. Each layer needs to dry according to the product directions, which could be anywhere from 30 minutes to a couple of hours. If you jump the gun and add another coat too soon, you’ll end up with a soft, weak patch.
Once the first layer is firm to the touch, mix up another small batch and apply a second thin coat. Keep repeating this process. Build up the layers until the filler sits just slightly above the surrounding surface. Don't worry, this slight overfill is what you want—you'll sand it down later to get everything perfectly flush.
On your final layer, the edges are everything. This is where a technique called "feathering" makes all the difference.
Pro Tip: Feathering is just blending the edges of the wet filler into the original enamel. Use your tool to gently spread the filler just past the chip's border, creating a smooth, tapered transition instead of a hard line. This little trick will make the final sanding and blending so much easier.
Let that final layer cure completely. This isn't a "dry to the touch" situation; full curing can take up to 24 hours. Fight the urge to rush it. A fully cured patch will be rock-hard and ready for the finishing touches that will make it disappear.
Nailing the Invisible Finish
This is where the magic happens. The final touches are what separate a quick patch-up from a seamless, professional-grade restoration. After you've let the enamel filler cure completely—and be patient, this can take up to 24 hours—it's time for the fine art of finishing.
It’s all about a light touch and precision from here on out. I know it’s tempting to rush this part, but a little extra care will make the repair melt right into the original surface. You’ve done the heavy lifting, now let’s make it perfect.
The Secret to a Perfectly Level Surface
The trick to making that patch vanish is a technique called wet-sanding. It might sound like something for the pros, but it’s actually quite simple. All you need is some ultra-fine-grit sandpaper, something in the 1500 to 2000-grit range, and a small bowl of water.
First, dampen both the sandpaper and the repaired area. Now, using very light, circular motions, gently sand the patch. The water acts as a lubricant, stopping the sandpaper from digging in and creating scratches while it whisks away the fine particles.
The goal here is to carefully sand the filled spot until it feels completely flush with the surrounding enamel. The best way to check your progress is with your fingertips; run them over the edge of the repair. When you can’t feel a ridge anymore, you’ve nailed it.
Crucial Tip from Experience: Let the sandpaper do the work. Pressing down hard is the fastest way to create new scuffs or sand right through the filler you just applied. Gentle, consistent circles are always better than brute force.
Bringing Back That Factory Gloss
Once the sanding is done, the repaired spot will look clean and level, but it’ll have a dull, matte look that sticks out against the glossy original finish. The final move is to bring back that shine.
Give the area a thorough wipe-down with a damp cloth to get rid of any sanding dust, then dry it completely. Grab a clean, soft microfiber cloth and apply a small dab of automotive polishing compound.
Using that same light, circular motion, buff the repaired area and just beyond its edges. The compound has mild abrasives that smooth out the microscopic scratches left by the sandpaper. You'll literally see the gloss reappear as you work.
Keep buffing for a minute or two, then wipe off any leftover compound with a clean part of the cloth. Now, step back and have a look. The chip should be practically invisible, blending perfectly in colour, texture, and shine. Following these steps ensures your repair isn't just a fix—it's a cosmetic success.
Knowing When a DIY Fix Isn't Enough
An appliance enamel repair kit is a fantastic tool for fixing those small, annoying nicks and scratches. But I've learned from experience that it's just as important to know when a DIY patch-up won't cut it. Some damage is more than just cosmetic—it's a warning sign of a bigger problem where you really need a professional.
The first red flag is always the size and depth of the damage. If you're looking at a chip bigger than a toonie or a deep gouge that’s showing a lot of bare metal, a simple kit just isn't going to hold up. Those larger flaws can seriously weaken the surrounding finish, which often leads to widespread peeling or rust that a small patch just can't stop.
Identifying Critical Repair Scenarios
Some situations are an automatic "stop and call a pro" moment. Trying to tackle these yourself can easily lead to worse problems down the road, and in some cases, can even be a safety hazard.
Watch out for these deal-breakers:
- Spreading Rust: See rust creeping out from under the enamel? That’s not just a surface issue; it means there's active corrosion happening underneath. A technician can properly grind it down, treat the metal, and make sure the integrity of the panel hasn’t been compromised.
- Chips in High-Stress Locations: Damage inside a microwave, near an oven's heating element, or on the spinning drum of a washer needs special attention. These areas require heat-resistant, food-safe, and durable materials that only professionals have access to.
- Damage to Functional Parts: Those little chips on dishwasher racks might seem harmless, but they can flake off into tiny, sharp pieces. I've seen them clog pumps and spray arms, turning a simple cosmetic flaw into a full-blown mechanical failure.
While a quick touch-up seems simple, it's worth understanding the hidden costs of DIY painting and repairs, especially when the damage is more than skin deep. For homeowners in Calgary, Edmonton, or Red Deer, bringing in a licensed technician is always your safest and most reliable bet. You can learn more about the top 5 reasons why hiring an appliance repair company is your best bet in our guide.
Your Top Enamel Repair Questions Answered
Even after mapping out the steps, a few questions always pop up when tackling an enamel repair for the first time. Let’s clear up some of the most common ones to make sure your project goes off without a hitch.
Can I Just Use Regular Paint to Fix a Chip?
It's tempting to grab whatever paint you have on hand, but I strongly advise against it. Standard latex or acrylic paints just can't handle the heat, moisture, and general abuse that kitchen and laundry appliances go through. They'll peel and discolour in no time.
What you really need is an appliance enamel repair kit. These typically contain a two-part epoxy that's engineered for this exact job. It creates an incredibly hard, heat-resistant finish that bonds tightly to the metal and is designed to last for years, just like the original surface.
How Do I Get a Perfect White Colour Match?
You’ve probably noticed that "appliance white" isn't one standard shade. It comes in dozens of variations, from stark bright white to creamy off-whites and bisques. Getting this right is the key to a repair that blends in seamlessly.
Your best bet is to find your appliance's model number and look it up on the manufacturer's website. They often sell their own touch-up kits, which guarantee a perfect match. If that’s not an option, take a clear photo of the chipped area in bright, natural light and bring it to your local hardware store to compare against their kits.
Expert Tip: No matter what, always test the colour on an inconspicuous spot first. The back of the appliance or underneath a lip are great places to dab a small amount. It’s much better to find out the colour is slightly off there than on the front of your oven door.
What Should I Do If Rust Has Formed in the Chip?
If you see any rust, dealing with it is non-negotiable. You have to remove every last bit of it before you apply any filler. If you don't, the rust will keep spreading underneath the new finish, eventually causing it to bubble up and fail.
Grab a small wire brush or a piece of fine-grit sandpaper and gently work the area until you only see clean, bare metal. After sanding, give the spot a thorough wipe-down with a degreaser or some rubbing alcohol to get rid of any dust and oils.
If the rust is really bad or has eaten a hole through the metal, that's a sign the damage is too deep for a simple DIY fix. At that point, your focus should shift to how to choose the right technician for appliance repair to get a professional assessment.
Need Professional Help?
DIY repairs are great for minor cosmetic issues, but for larger chips, spreading rust, or damage to functional parts, it's best to call in the experts. A professional repair ensures the job is done safely and correctly, extending the life of your appliance.
Need appliance repair? Visit RepairMyAppliance.ca or call 587-416-5888 for fast, professional service.