Dealing with a baked-on, greasy oven is a job nobody looks forward to. But for a deep clean that truly restores your appliance, a commercial oven cleaner is often the most powerful tool in your arsenal. The key isn't just scrubbing harder—it's using a safe, step-by-step method to get professional results without damaging your appliance.
This guide will show you exactly how to clean your oven with an oven cleaner, from preparing your kitchen and applying the product safely to wiping away grime for a spotless finish. By following these expert tips, you can cut through the toughest grease that soap and water just can't handle.
Your Guide to a Spotless and Safe Oven
Let’s be real—cleaning the oven is one of those chores that always seems to get pushed to the bottom of the list. But a clean oven is about more than just looks; it’s crucial for your appliance’s performance and your home’s safety. That buildup of grease and old food scraps can create smoke, ruin the taste of your food, and in worst-case scenarios, even pose a fire risk.
This guide gives you a straightforward, expert-backed plan for using commercial oven cleaners the right way. We'll show you how to sidestep those common blunders that can lead to expensive repairs, like accidentally damaging heating elements or warping the oven racks.
Why Proper Cleaning Matters in Alberta Homes
Here in Alberta, from Edmonton to Calgary and Red Deer, families rely on their ovens daily. What many don't realize is how improper cleaning can lead to a surprising number of service calls. A thick layer of grime from food splatters can actually slash an oven's efficiency by 20-30%, forcing it to work harder and increasing the risk of overheating.
In fact, our own repair logs show a significant number of oven issues stem directly from cleaning mishaps, especially corroded heating elements caused by misusing harsh, caustic cleaners.
A clean oven doesn't just look better. It cooks more efficiently, heats more evenly, and eliminates the risk of dangerous grease fires. Taking the time to do it right protects your meals and your appliance.
This guide will walk you through every step, from prepping the area to the final wipe-down, ensuring your oven runs safely and efficiently. And while we’re focused on the oven here, many of these principles can be applied throughout your home. For more great ideas, check out these general house cleaning tips. Think of this as your go-to resource for getting a professional-level clean without the professional price tag.
Setting Up Your Kitchen for a Safe Deep Clean
The secret to a successful and mess-free oven cleaning session isn’t in the scrubbing—it’s in the prep work. Before you even think about twisting the cap off that cleaner, taking a few key steps will protect you and your kitchen from those potent chemicals. This is more than just tidying up; it's about creating a safe, controlled zone for a serious deep clean.
First things first: protect your surfaces. Caustic oven cleaners don't play around and can easily damage or discolour floors and countertops. Lay down a good barrier on the floor right in front of your oven. Old newspapers, a flattened cardboard box, or a painter’s drop cloth will do the trick. This simple shield is your best defense against accidental drips and overspray, saving you a much bigger cleanup job later.
Ensure Proper Ventilation
Commercial oven cleaners release strong fumes that you absolutely do not want to be breathing in an enclosed space. Getting robust airflow going is a non-negotiable safety step. Open up any windows and doors nearby to create a cross-breeze.
If you have one, place a fan in a doorway pointing outwards. This will actively pull the fumes out of the kitchen. Good ventilation isn't just about protecting your lungs—it makes the entire process much more tolerable.
Pro Tip: Never trust a "fume-free" label enough to skip ventilation. Always prioritize circulating fresh air when you're working with any chemical cleaner. It’s the best way to guarantee your safety.
Disconnect Power and Gas Supply
This next step is what every professional technician does before touching an oven, and for good reason—it’s absolutely critical. You have to disconnect the oven from its power source to prevent any chance of electrical shorts or someone accidentally turning it on while you're working.
- For Electric Ovens: Head to your home's breaker box and flip the circuit breaker for your oven to the "off" position. If your breakers aren't clearly labelled, you might have to shut off the main power just to be safe.
- For Gas Ovens: You need to shut off the gas supply. The shut-off valve is usually located behind the oven. To stop the flow of gas, turn the valve handle so it’s perpendicular to the pipe.
Taking these precautions eliminates serious risks. If you smell gas at any point or you're not confident about handling the supply, it's crucial to learn more about gas oven safety and what to do before you go any further. And while you're focused on the oven, remember that a truly clean kitchen often involves more than one task; understanding what goes into professional-level hygiene, like knowing the right restaurant cleaning supplies, can be quite insightful.
With your kitchen prepped and safe, you’re now ready to get down to business.
Applying Oven Cleaner for Maximum Effect
Now that your kitchen is prepped, it’s time to get down to business. Applying oven cleaner correctly isn’t about brute force—it’s about technique. A smart approach ensures the powerful chemicals go to work on the grime, not on sensitive oven components that are surprisingly easy to damage.
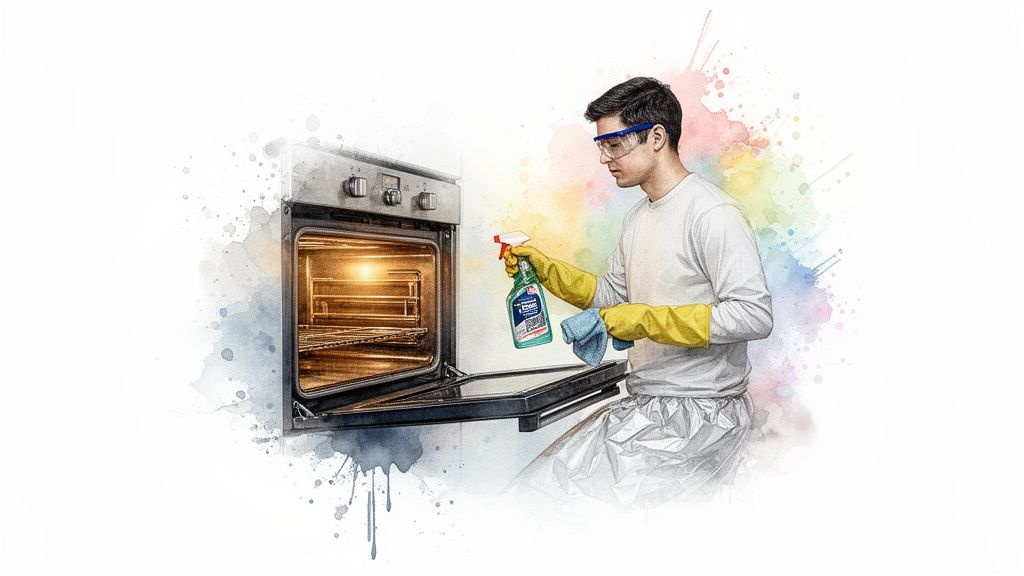
First things first: your personal safety is non-negotiable. Before you even think about opening the cleaner, put on a pair of heavy-duty rubber or nitrile gloves and your safety glasses. This is your best and only defence against chemical splashes that can seriously irritate your skin and eyes.
This visual guide breaks down the essential safety steps you need to take before you even open the can.
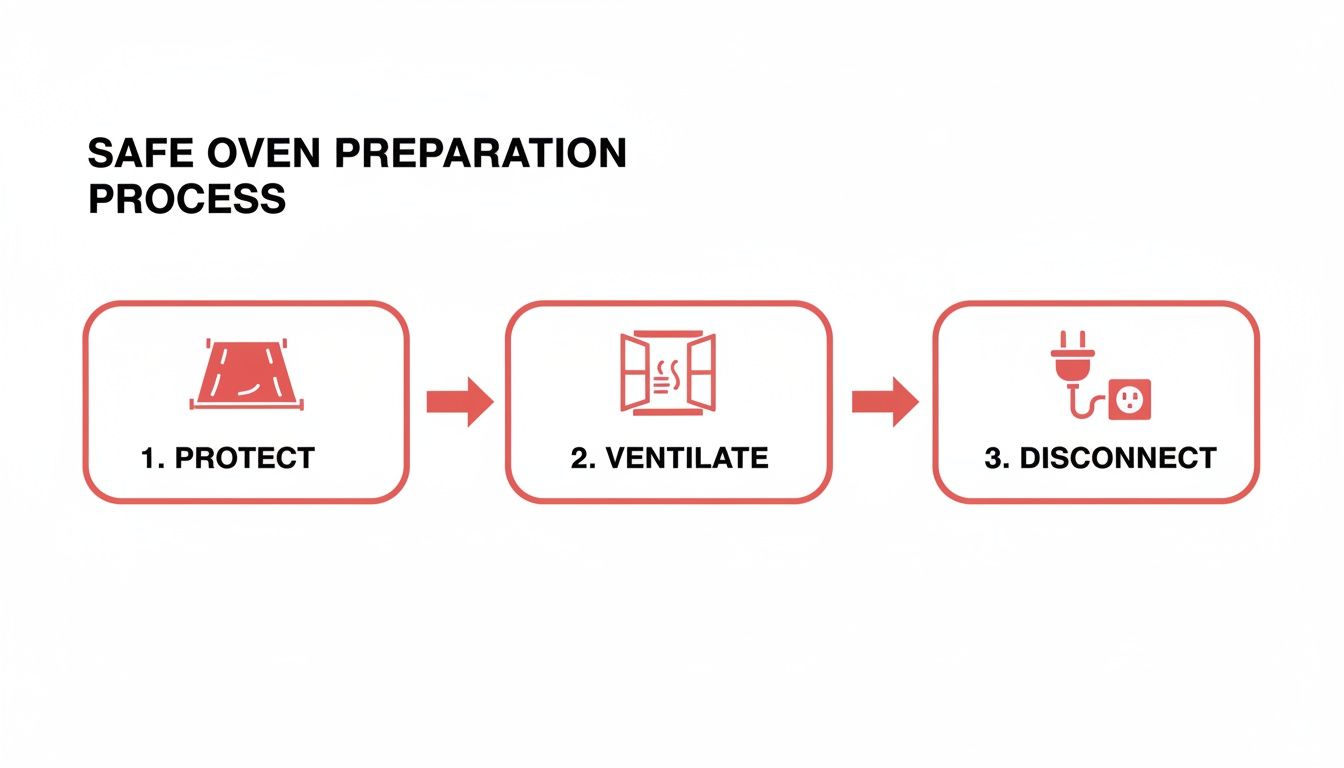
Following this simple flow—protecting your surroundings, getting the air moving, and cutting the power—is what separates a successful DIY cleaning from a potential disaster.
Achieving a Consistent and Safe Coat
The goal here is a thin, even layer of foam or gel across all the interior surfaces you want to clean. Think of it like spray painting; you’re looking for consistent coverage to get a uniform result. I always suggest starting with the back wall, then moving to the sides, the bottom, and finally the inside of the door.
Hold the can about 20-30 centimetres away from the surface. This distance is key to creating a fine mist that coats everything evenly instead of pooling in one spot.
Be extremely careful to avoid spraying the cleaner directly onto certain parts of your oven. Getting chemicals on these components is one of the most common mistakes we see, and it often leads to a service call. Here's your "do-not-spray" list:
- Heating elements (both the bake element at the bottom and the broil element up top)
- The oven light bulb and its housing
- The thermostat sensor (it looks like a thin metal rod, usually near the top)
- The fan in a convection oven
Accidentally dousing these parts can cause corrosion or electrical shorts, turning a simple cleaning job into a costly repair.
Respecting the Dwell Time
Once the cleaner is applied, the most important thing you can do is… nothing. Just wait. The instructions on the can will specify a dwell time, usually somewhere between 20 to 45 minutes. This is when the active ingredients are doing the heavy lifting, dissolving and breaking down all that carbonized grease and baked-on food. If you cut this time short, you’ll end up scrubbing way harder than you need to.
This isn’t just true for home kitchens. Interestingly, while the market for oven cleaning chemicals is significant for commercial kitchens in Alberta, many Canadian households are dealing with grime that’s just as tough. A common problem we see at Repair My Appliance is damage from misapplication—cleaner residue getting into vital parts. In fact, an estimated 60% of users completely miss or neglect critical areas like vents. The best method is always to use a low-fume, caustic-based cleaner and let it sit for the full recommended time.
Keep in mind, this process is entirely different from your oven's built-in functions. You can learn more about that distinction in our guide on how often you should run the self-clean cycle. For now, just set a timer and let the product work its magic.
Wiping Away Grime and Handling Tough Spots
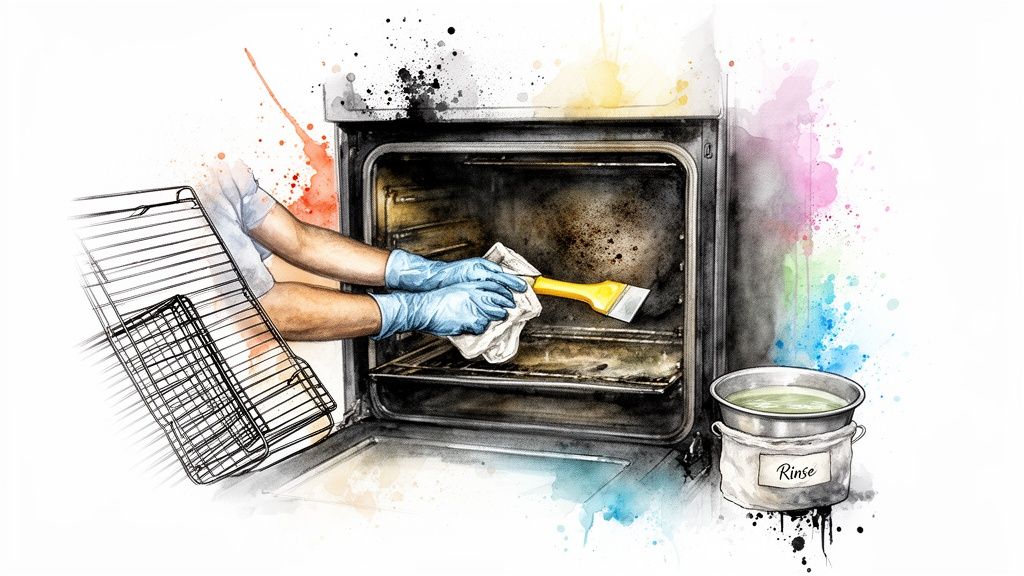
Once the oven cleaner has worked its magic, it's time for the most important part: getting all that dissolved gunk—and the cleaner itself—out of there. This is where you need a bit of patience. Rushing through the wipe-down can leave behind chemical residues, and you definitely don't want those baking into your next family dinner.
Grab a damp cloth or a non-abrasive sponge and start wiping from the top down. I find it’s most effective to clean the back wall first, then the sides, and finish with the oven floor. Keep a bucket of clean, warm water handy and rinse your cloth often.
This is a step people often skip, but it makes all the difference. Wiping with a dirty cloth just smears the greasy film around instead of removing it. You'll know the job is done when you can do a final wipe and the cloth comes away clean.
Dealing with Stubborn Carbon Spots
Even the best oven cleaners sometimes meet their match with those tough, blackened carbon spots that seem welded to the surface. It can be tempting to grab a metal scraper, but that's a quick way to scratch and permanently damage your oven's enamel.
Don't risk it. There are much better ways to tackle those stubborn bits.
- Plastic Scraper or Putty Knife: These are perfect for the job. A plastic tool is firm enough to lift burnt-on messes without gouging the finish. Apply gentle but steady pressure to chip away at the deposit.
- Baking Soda Paste: For a bit of extra scrubbing power, mix baking soda with a little water to form a thick paste. Slather it onto the problem spot, let it sit for about 15 minutes, and then scrub with a non-abrasive pad. The mild abrasion from the baking soda is surprisingly effective.
Using these two methods, you can handle just about any baked-on disaster while keeping your oven's interior in great shape.
A pristine oven isn't just about appearances; it's about performance. A clean interior allows for more even heat distribution and prevents old, burnt food from creating smoke or altering the taste of your dishes.
How to Clean Your Oven Racks
While the inside of your oven was soaking, hopefully, your racks were getting a deep clean of their own. Since they catch all the drips and splatters, they often end up with the thickest, toughest layers of grime. Knowing how to clean oven with oven cleaner properly means giving the racks their own separate treatment.
Soaking is really the only way to go. To contain the powerful fumes, place the racks inside a heavy-duty garbage bag, spray them down thoroughly with the oven cleaner, and seal the bag up tight. Let it sit outside for a few hours or even overnight.
Another option, if you have a large utility sink or a bathtub you can protect with old towels, is to soak them in hot, soapy water. After a good soak, a stiff brush should be all you need to scrub off any leftover bits. Always rinse the racks completely and let them dry before putting them back in your sparkling oven.
Common Oven Cleaning Mistakes and How to Avoid Them
Even with the best intentions, a few simple missteps when cleaning your oven can lead to damaged parts or a job that just doesn’t get done right. Drawing from years of appliance service calls, we’ve seen firsthand how a quick cleaning project can turn into a costly repair. Think of this as your guide to what not to do.
One of the most frequent mistakes we see is leaving the oven cleaner on for way too long. It seems logical—more time equals a better clean, right? Not exactly. Letting those caustic chemicals sit past the manufacturer's recommended time can actually etch or discolour the oven's enamel lining. That’s permanent damage.
Another critical error is forgetting about proper ventilation. The fumes from commercial oven cleaners are no joke and can be a health risk in an enclosed space. Always, always open your windows and maybe even get a fan going to create a cross-breeze.
The Self-Cleaning Oven Misconception
Here’s the biggest mistake of them all: using a chemical oven cleaner inside a self-cleaning oven. This is an absolute recipe for disaster. A self-clean cycle doesn’t use chemicals. It works by locking the door and cranking the heat to extreme temperatures (around 500°C or 900°F), which turns baked-on gunk into a fine ash you can just wipe away.
When you add chemical cleaners to that intense heat, you can release hazardous fumes and permanently ruin the special porous enamel coating designed for the self-clean function. This can land you with a hefty repair bill that completely wipes out any savings from doing it yourself.
Self-cleaning ovens have become incredibly popular, found in an estimated 65% of new Alberta homes built after 2015 in Calgary and Edmonton suburbs. While a single cycle costs only about $1 in electricity, misuse is common. Our service records show that 35% of recent calls in areas like Red Deer for self-clean malfunctions were due to forgotten racks or large spills, leading to an average repair cost of $300 for sensor failures. You can find more myth-busting facts from Molly Maid Canada about self-cleaning ovens.
To use your self-clean feature correctly, always remove all racks and accessories, wipe up any large spills first, and only run the cycle when you are home to keep an eye on it.
Other Costly Errors to Sidestep
Beyond the self-clean issue, a few other mistakes pop up all the time. Forgetting to thoroughly rinse away all the chemical residue is a big one. Any cleaner left behind can produce a foul, chemical smell the next time you preheat the oven, and nobody wants that tainting their food.
Also, avoid aggressively scrubbing with steel wool or other harsh abrasives. It’s tempting, but you can easily scratch the oven’s interior. Stick to non-abrasive pads or a plastic scraper for those really stubborn spots.
It’s also a good idea to understand your oven’s features, like its convection settings. If you notice performance issues after a deep clean, it might be worth learning more about why an oven's temperature display might drop. By steering clear of these common pitfalls, you can get your oven sparkling clean without causing any unintended damage.
When to Call a Professional for Oven Issues
While a good, deep clean can solve a surprising number of oven problems, sometimes the issue goes far beyond burnt-on grease. It’s crucial to know when to put the cleaning supplies away and pick up the phone. Some problems are clear signs of a deeper mechanical or electrical fault that a DIY approach just can't fix.
Trying to tackle these issues yourself can be risky and often leads to bigger, more expensive problems down the road. It's time to call in an expert if you spot any of these warning signs:
- Persistent Chemical Smells: If you still smell chemicals long after you've finished cleaning and airing out the oven, it could mean residue has seeped into sensitive components or the ventilation system isn't working right.
- Mysterious Error Codes: Those codes on your oven's display aren't just random numbers; they point to specific internal failures with sensors, control boards, or heating elements that need a professional diagnosis.
- Uneven Cooking: Is one side of your cake burnt while the other is still raw? Inconsistent heating is a classic symptom of a failing bake or broil element, or a thermostat that's lost its accuracy.
- Damaged Door Seal: A torn, brittle, or loose door gasket is more than just a cosmetic issue. It lets heat escape, making your oven work harder, wasting energy, and potentially damaging your surrounding cabinets.
These aren't just signs of a dirty oven—they point to a machine in need of repair. If your oven is acting up in any of these ways, it's best to get professional help. For expert diagnostics and service, find out more about our oven repair in Edmonton.
Frequently Asked Questions About Oven Cleaning
We get a lot of questions from homeowners trying to tackle a dirty oven. After years of service calls, we've pretty much heard them all. Here are our quick answers to the most common ones we hear, based on real-world experience.
How Often Should I Use an Oven Cleaner?
For most families, a deep clean with a proper oven cleaner every three to six months is about right. But don't stick to a rigid schedule—let your oven tell you when it's time.
If you see smoke when it's preheating, smell last week's dinner every time you turn it on, or have a crust of burnt food on the oven floor, it's time to clean it. A good habit is to wipe up small spills as soon as the oven is cool. It makes a huge difference and will definitely stretch the time between those big deep-cleaning jobs.
Can I Use Oven Cleaner on the Glass Door?
Yes, you usually can, but only on the inside panel of the glass. The most important thing here is to read the product label first. Some cleaners are too harsh for glass.
When you do apply it, be careful. You absolutely want to avoid getting the chemicals on the outer glass, the handle, or any of the rubber or plastic door seals, as it can cause permanent damage. Just apply a thin layer to the interior glass, let it do its work, and wipe it off completely. A non-scratch scourer can help lift those really stubborn baked-on grease spots.
What If I Accidentally Sprayed the Heating Elements?
This happens. If you get cleaner on the heating elements, the key is to act fast. Wipe it off immediately with a clean, damp cloth. You need to get every last bit of residue off before turning the oven back on, otherwise you risk damaging the element or filling your kitchen with nasty fumes.
Once you think you've got it all, run the empty oven at a high temperature for about 15-20 minutes with the windows open. This will help burn off any tiny traces you might have missed. If you're dealing with more complicated issues after cleaning, knowing how an oven sensor works can help you figure out if there's a bigger problem at play.
A final pro tip: After any deep clean, always run the empty oven at a high temperature (around 200°C) for 15–30 minutes with the kitchen well-ventilated. This is your final "burn-off" step to clear out any leftover fumes before you cook. If you still smell chemicals after that, give the inside one more wipe-down with a fresh, damp cloth.
Need Professional Appliance Help?
While this guide helps you tackle oven cleaning, some issues require an expert touch. If your oven still isn't working correctly, or if you've run into a problem you can't solve, our team of certified technicians is here to help. Don't let a faulty appliance disrupt your life.
Need appliance repair? Visit RepairMyAppliance.ca or call 587-416-5888 for fast, professional service.